How to Stop Ice Dams Before Winter Hits: An Attic Insulation & Ventilation Checklist for Show Low Homeowners
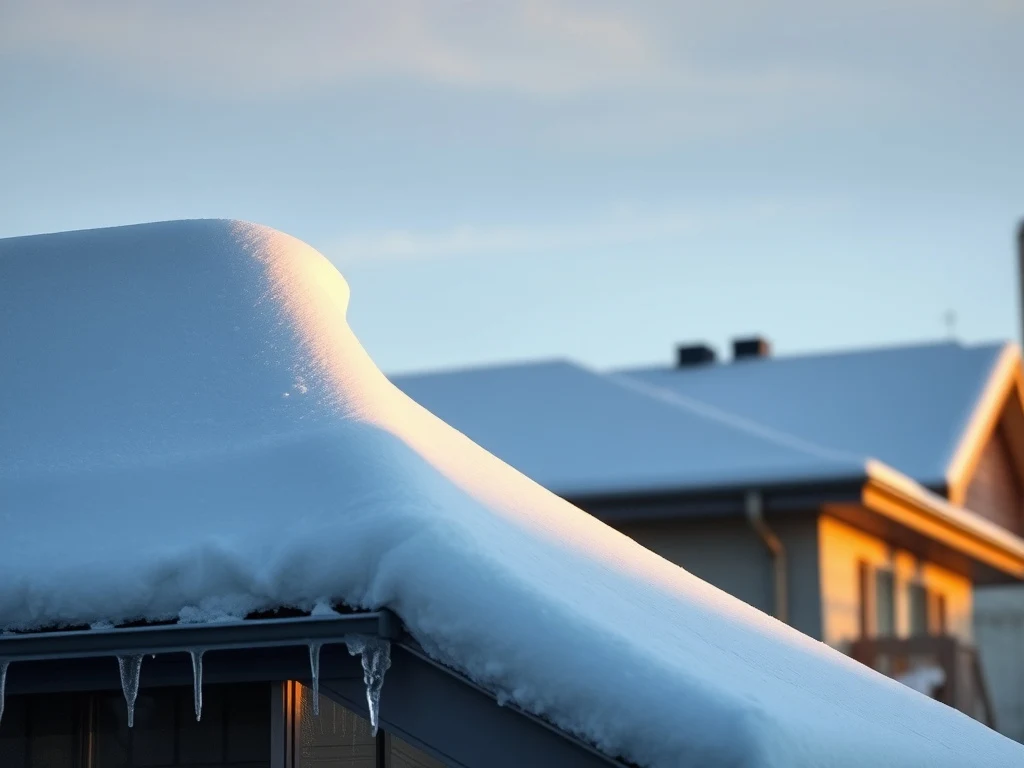
Show Low sees roughly 19 inches of snow in a typical year, and January is consistently the heaviest month. That makes fall — before the first real snowfall — the ideal window to get ahead of ice dams rather than fighting them once they've already formed on your roofline. This is a practical, step-by-step checklist for exactly that: what to check, what to fix, and in what order.
Step 1: Understand what actually causes an ice dam
An ice dam isn't caused by cold weather alone — it's caused by an attic that's warmer than the outside air. Heat escaping through an under-insulated or leaky attic floor warms the underside of the roof deck, melting the snow directly above the heated living space while the eaves, past the edge of the insulated envelope, stay cold. The meltwater runs down and refreezes right at that cold edge, building a ridge of ice that can force water back up under your shingles. Every step in this checklist targets one part of that chain.
Step 2: Check your attic's current insulation depth
Grab a flashlight and take a look in your attic access. If you can see the tops of the joists clearly through thin insulation, or if the depth looks noticeably uneven across the attic floor, you're very likely below Show Low's Zone 5B target of around R-49. As a rough visual guide, R-49 typically means roughly 14-18 inches of blown-in cellulose or fiberglass, depending on the specific product's density — if your attic looks meaningfully shallower than that, it's a strong candidate for a top-up before winter.
Step 3: Look for the air leaks insulation alone won't fix
Before adding insulation, identify where warm air is actually escaping into the attic — because insulation without air sealing is treating half the problem. Common leak points to check: gaps around the attic access hatch, plumbing and wiring penetrations, recessed can lights that aren't rated for insulation contact, and the top plates where interior walls meet the attic floor. If you can feel warm air rising from any of these spots on a moderately cool day, that's heat headed straight for your roof deck.
- Attic access hatch — is it sealed and weatherstripped, or just a loose panel?
- Recessed can lights — insulation-contact rated, or a bare gap around the housing?
- Plumbing and wiring penetrations through the attic floor
- Top plates where interior walls meet the ceiling below
- Bath and kitchen exhaust fan ducting — properly vented outside, not dumping warm, moist air into the attic
Step 4: Confirm your attic ventilation is actually balanced
Insulation and air sealing keep heat from reaching the roof deck; ventilation keeps whatever heat does reach it from building up unevenly. Check that soffit vents at the eaves aren't blocked by insulation (baffles should hold a clear air channel from the soffit into the attic), and that you have some form of exhaust ventilation up high — a ridge vent, gable vents, or roof vents. Insulation piled directly against the roof deck at the eaves, with no baffle to preserve airflow, is one of the most common ice-dam contributors we find on inspection.
Step 5: Address any existing roof-edge damage before it snows again
If you had ice dams last winter, check the eaves and roof edge now, while it's dry and accessible, for any signs of water staining, soft spots, or damaged shingles from prior ice-dam water intrusion. Fixing the underlying insulation and ventilation problem prevents future ice dams, but existing water damage from past seasons should be assessed and repaired separately so it doesn't continue to deteriorate.
Step 6: Don't forget pipes in the same assessment
While you're thinking about winter prep, extend the same logic to your crawlspace and any exterior-wall or underfloor plumbing runs — the same kind of heat-loss and cold-air-infiltration problems that cause ice dams also cause frozen pipes. If your attic assessment turns up gaps and under-insulation, there's a good chance your crawlspace has similar issues. It's efficient to address both in the same fall project.
Step 7: Get a professional assessment before the first real snow
A DIY flashlight check is a useful first pass, but a professional assessment measures your actual attic depth, uses tools to find air leaks you can't feel by hand, and checks ventilation balance properly — plus it documents your home's before-and-after condition, which matters for any rebate program you might use. If your fall checklist turned up thin insulation, obvious air leaks, or blocked soffit vents, the fix is straightforward and most attic and air-sealing projects are completed well within a single day.
The bottom line
Ice dams are preventable, and the fix is well understood: air seal the attic floor, insulate to the R-49 target Zone 5B calls for, and maintain balanced ventilation so the whole roof deck stays cold and even. Doing this work in the fall, before Show Low's snowiest month arrives, is far less stressful than dealing with active ice dams and water intrusion mid-winter. If you'd rather not run through this checklist yourself, we're happy to do the full assessment for you.
Frequently asked questions
Ice dams form when heat escaping into an under-insulated, leaky attic melts roof snow from underneath, which then refreezes at the cold eaves. Air sealing the attic floor and insulating to Zone 5B's R-49 target keeps the roof deck cold and even, dramatically reducing ice-dam formation. Balanced soffit and ridge ventilation completes the fix.
Fall, before Show Low's heaviest snow month of January. Addressing attic insulation, air sealing, and ventilation before the first real snowfall is far less disruptive than dealing with active ice dams mid-winter, though we can also address existing ice dams during the season if needed.
Yes. Insulation alone, without balanced ventilation, can trap moisture under the roof deck and worsen ice-dam risk rather than solve it. We treat attic insulation and ventilation — soffit intake, ridge or roof exhaust, and proper baffling — as one combined project.
Ready for a free quote?
Tell us about your home and we'll build a clear quote — current rebates included.